Suica vs ICOCA vs PASMO: Which Japan IC Card Should You Get in 2026?
Which Japan IC card to get in 2026 — Suica, ICOCA or PASMO compared, where to buy, how to use at train gates and konbini, plus mobile setup tips.
Every Japan travel guide tells you to get an IC card. Almost none of them tell you clearly which one, where to get it, or how the 2026 options have changed. This is that guide.
The short answer: it doesn’t matter much which card you choose — Suica, ICOCA, and PASMO all work on the same national network. The right choice is whichever is easiest to get at the airport where you land. But the details around tourist cards, mobile options, and how to use them across your whole trip — covering Tokyo, the overnight bus to Kyoto, free temples, Osaka street food, convenience stores, and accommodation check-ins — are worth getting right before you arrive.
What an IC Card Actually Is
An IC card is a rechargeable prepaid card with an embedded chip. You load money onto it, tap it on a reader at train gates, bus readers, or shop counters, and the fare or price is deducted automatically. One beep, no paper tickets, no calculating fares, no hunting for exact change.
For a typical tourist day in Tokyo or Osaka you will tap an IC card 10 to 20 times. Trains, subways, buses, convenience stores, vending machines, coin lockers, some taxis — all of it covered by a single tap. It removes more friction from Japan travel than almost any other single thing you can do before arriving.
The Big Three IC Cards — What’s Actually Different
All IC cards are identical in purpose. The only real difference is where you get one — so most people buy whichever is most convenient in the first city they arrive in: Suica or PASMO in Tokyo, ICOCA in Osaka.
Here’s the full breakdown:
Suica — Best for Tokyo arrivals
Issued by JR East. The most widely recognised IC card in Japan — the penguin logo is on everything. Works everywhere in the nationwide IC network.
Regular Suica: ¥2,000 to purchase (includes ¥500 refundable deposit + ¥1,500 starting balance). Valid for 10 years. Refundable at any JR East counter when you leave.
Welcome Suica (tourist version): No ¥500 deposit — costs only what you load onto it (minimum ¥1,000). Valid for 28 days, after which the card stops working and any remaining balance is forfeited — standard practice is to spend the remaining balance down at airport convenience stores before leaving. Available at Narita Airport, Haneda Airport, and major JR East stations including Tokyo, Shinjuku, Shibuya, and Ueno.
Best for: Travelers landing at Tokyo airports. Anyone staying less than 28 days who doesn’t want to deal with a deposit refund.
PASMO — Also for Tokyo, interchangeable with Suica
Issued by Tokyo Metro and private rail operators. For most travelers, Suica and PASMO are functionally identical — use whichever machine is in front of you.
Regular PASMO: Same ¥2,000 purchase structure as Suica (¥500 deposit + ¥1,500 balance). Sales of regular PASMO cards resumed in 2025 after disruption from the global IC chip shortage — availability still varies by station, so check before queuing.
Tourist PASMO: Tokyo Metro announced a new visitor PASMO product in April 2026 replacing the discontinued PASMO PASSPORT. Similar terms to Welcome Suica — no deposit, 28-day validity. Available at Tokyo Metro station counters.
Best for: Travelers who end up at a PASMO machine before a Suica one. Functionally the same — don’t stress the choice.
ICOCA — Best for Osaka and Kyoto arrivals
Issued by JR West for the Kansai region. The card you want if you’re flying into Kansai International Airport, starting your trip in Osaka or Kyoto, or taking our recommended ¥410 Hankyu train from Kyoto to Osaka.
ICOCA for foreign visitors can be purchased at Kansai Airport for ¥2,000 — this includes a ¥500 refundable deposit and ¥1,500 starting balance.
Can you use ICOCA in Tokyo? Yes. IC cards are not city-specific — they all work everywhere in Japan. If you buy an ICOCA in Kansai, you can use it in Tokyo, Hokkaido, Kyushu, and everywhere else on the national network.
Best for: Travelers landing at Kansai International Airport or starting their trip in Osaka or Kyoto.
The 2026 Decision — Which Card to Get
Where are you landing?
├── Tokyo (Narita or Haneda)
│   ├── iPhone user → Mobile Suica via Apple Wallet (set up before flying)
│   └── Android or prefer physical → Welcome Suica at the airport (no deposit)
│
└── Osaka (Kansai International Airport)
    ├── iPhone user → Mobile ICOCA via Apple Wallet (set up before flying)
    └── Android or prefer physical → ICOCA at the airport kiosk (¥2,000)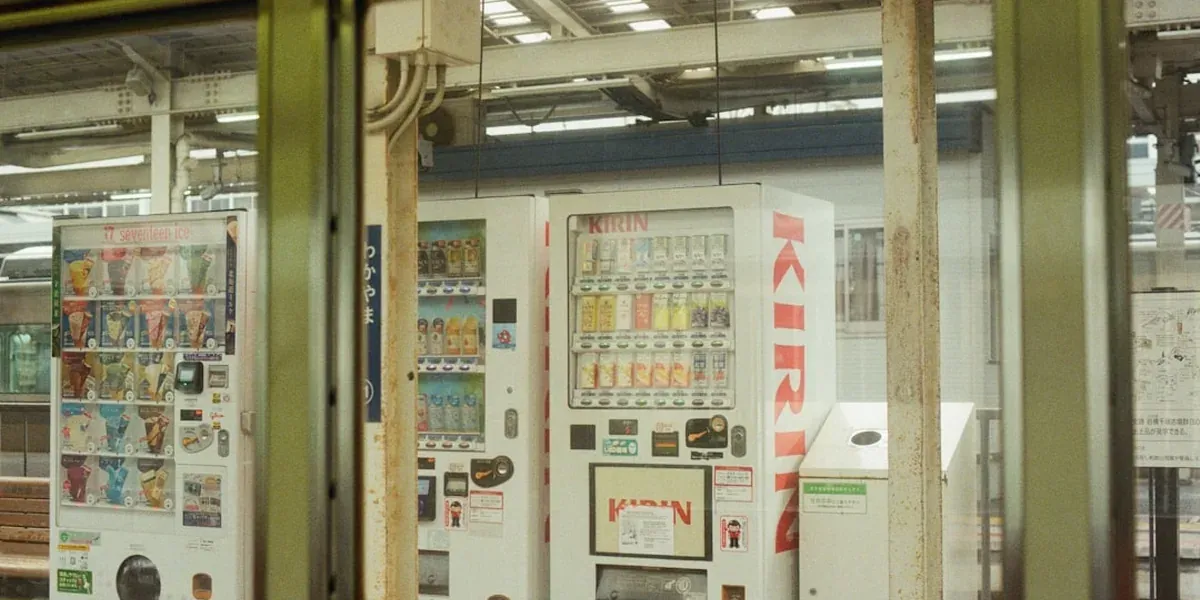
The Mobile Option — Best Setup for iPhone Users in 2026
If you have an iPhone 8 or later, the mobile IC card option is genuinely the best setup for Japan travel. The simplest IC card for a tourist in 2026 is Mobile Suica added to Apple Wallet on an iPhone. Every iPhone 8 and later has the FeliCa chip Japan’s IC system uses, so you can add a Suica anywhere in the world before your trip — open Wallet, tap the plus, choose Transit Card, pick Suica, set an initial top-up amount and pay with a Visa, Mastercard or Amex registered to your Apple ID.
Why mobile is better than physical
- Set it up at home before you even board the flight — no queue at the airport
- Top up from your credit card at any time, even mid-journey, no machine needed
- One less card to carry or lose
- Works on Apple Watch too — tap your watch at gates
The critical setup detail most guides miss
Mobile Suica needs Express Transit turned on — this means you do not need Face ID or Touch ID at the gate. Set this in Wallet and Apple Pay settings the first time. The iPhone also needs charge — keep above 5% or the gate will not respond.
Set Express Transit on the plane. Arrive in Japan ready to tap.
What about Android phones?
For Android phones, Mobile Suica, Mobile PASMO, and Mobile ICOCA apps exist, but these are designed for residents of Japan with Japanese-market Android devices that support FeliCa NFC technology. Most Android phones purchased outside Japan do not support these apps. Android users visiting Japan are generally better served by a physical IC card.
If you have an Android phone bought outside Japan: get a physical Welcome Suica or ICOCA. It works just as well — you just top up at station machines rather than from your phone.
How to Use Your IC Card — The Complete Guide
At train and subway gates
Walk up to any gate with an IC card reader (look for the IC logo — a stylised wave). Hold your card or phone flat against the reader for about one second. You’ll hear a beep and the gate opens. The fare is deducted automatically based on where you tap out at your destination.
Always tap out. Tapping in but not out leaves the gate thinking you’re still on a journey and will cause errors on your next trip.
On buses
Most city buses in Tokyo, Kyoto, and Osaka accept IC cards. Tap on when boarding (front door on flat-fare routes, rear door on distance-fare routes). Tap off when exiting. The system calculates the fare automatically.
For the Kyoto city bus — which covers most of the free temples in our Kyoto guide — tap on at the rear door, tap off at the front when exiting.
At convenience stores
Every 7-Eleven, FamilyMart, and Lawson in Japan accepts IC cards — just tap the reader at the register instead of using cash. IC cards act as excellent prepaid wallets for convenience stores, vending machines, and even restaurants, not just for trains. This is the fastest checkout method and means you never need to handle coins for small purchases. Full guide to making the most of konbini: Japan Convenience Store Food Guide.
At coin lockers
Japan’s train station coin lockers use IC cards instead of physical keys. You place your luggage inside the locker, shut the door, and tap your IC card on the central control panel. The system deducts the rental fee and links the locker door to your card’s unique RFID chip. When you return, you tap your card again and the locker opens.
This is extremely useful on travel days — especially if you’re following our Tokyo to Kyoto overnight bus strategy and need to store luggage before your evening departure. Locker costs: small ¥300–400/day, medium ¥500–700/day, large ¥700–900/day.
At vending machines
Most outdoor vending machines in Japan have an IC card reader. Useful for cold drinks between temple visits or hot canned coffee in winter. Saves hunting for exact coins — just tap.
Using Your IC Card Across Your Whole Trip
Here’s how your IC card connects every part of your BudgetYen Japan trip:
Tokyo: Use it on the Yamanote Line, Tokyo Metro, and all city buses. Tap at 7-Eleven for konbini meals. Use it at station coin lockers when exploring without luggage.
Tokyo → Kyoto overnight bus: Top up your card at any station machine before departure. You’ll use it immediately on arrival in Kyoto for the ¥150 JR Nara Line to Fushimi Inari. Full transport breakdown: Cheapest Ways from Tokyo to Kyoto.
Kyoto: City buses, subway, and the JR lines to Fushimi all accept IC cards. The free itinerary in our Kyoto guide is designed around IC card transport — total daily spend under ¥800.
Kyoto → Osaka: The Hankyu Railway at ¥410 accepts IC cards — tap on at Kyoto-Kawaramachi, tap off at Umeda/Osaka. No paper tickets needed. Full Osaka guide: Kyoto to Osaka Budget Street Food Guide.
Osaka: Subway, Osaka Loop Line, and city buses all IC-compatible. Tap at every konbini. Tap at Dotonbori area coin lockers when you want to walk light.
How to Top Up Your IC Card
At station machines (most common)
Every train station in Japan has ticket and IC card machines. Look for machines with the IC logo. Insert cash, select “Charge” (チャージ), choose your top-up amount (¥1,000–10,000 in ¥1,000 increments), and tap your card on the reader. Done in 30 seconds.
The initial cost consists of a refundable ¥500 deposit plus an initial amount — typically ¥1,500 — to be loaded onto the card. For a surcharge, Suica and PASMO cards can also be purchased and sent to you before your trip.
On your phone (iPhone with mobile IC)
Open Apple Wallet, tap your Suica/ICOCA card, tap “Add Money,” enter the amount, confirm with Face ID. Available any time — on the train, at a temple, on the bus. No machine, no cash required.
How much to load
A realistic daily IC card spend for transport in major cities:
| City | Daily transport (IC card) |
|---|---|
| Tokyo — heavy sightseeing | ¥800–1,200 |
| Kyoto — bus + subway | ¥400–800 |
| Osaka — subway heavy day | ¥600–900 |
| Between cities (Hankyu etc) | ¥410–600 per trip |
Load ¥3,000–5,000 when you arrive. Top up when you drop below ¥500 — the machine will warn you at the gate with a different beep tone.
What to Do With Leftover Balance
Welcome Suica / Tourist PASMO (28-day tourist cards)
Tourist-only cards have no refund mechanism — standard practice is to use up the remaining balance at airport convenience stores before leaving. There is no refund-to-credit-card path. Plan your last day to spend down your balance — a konbini run at the airport works perfectly.
Regular Suica / ICOCA (with ¥500 deposit)
Standard anonymous IC cards are valid for 10 years — it is generally recommended to keep them as a souvenir for your next Japan trip. If you want a refund, you must visit a counter in the region where it was issued: Suica can only be refunded at JR East stations, ICOCA only at JR West stations.
Mobile Suica on iPhone
Mobile Suica can be deleted from Apple Wallet but the balance is forfeited unless spent first — there is no refund-to-credit-card path. Spend down to zero at a konbini before deleting.
IC Card vs JR Pass — They’re Not the Same Thing
This causes constant confusion among first-time Japan travelers. They are completely different products:
IC card: Pay-as-you-go prepaid card. Covers all local trains, subways, buses. Works everywhere at face-value fares. No Shinkansen (except specific services on some lines).
JR Pass: A pre-purchased pass covering most JR rail lines including Shinkansen. Does NOT replace an IC card — you still need one for subways, private railways, and buses.
A Suica card is not a rail pass. A Suica card is not a discount rail pass. It is a digital or physical card payment method for paying for travel. You load money onto it and pay by tapping at the ticket gates.
For most budget travelers doing Tokyo → Kyoto → Osaka, the JR Pass is not worth it — the Hankyu and IC card combination is cheaper. We broke down the full JR Pass calculation in the Tokyo to Kyoto transport guide.
The Budget Impact — How Much Does an IC Card Save?
Every time you use an IC card instead of buying a paper ticket, you save approximately 30–60 seconds at the machine and avoid the stress of calculating fares on unfamiliar systems. Over a 14-day trip tapping 10–15 times a day, that’s 2–4 hours of your trip not spent queuing at machines.
The financial saving versus cash: IC cards use the same fares as paper tickets — there’s no discount for using them. The saving is time and convenience, not money directly. Where the financial impact shows is at convenience stores — the frictionless tap means you’re less likely to overspend fumbling for correct change, and you earn the mental bandwidth to focus on the konbini buying strategy that actually cuts your food budget.
Planning a 2-week trip? Our complete 14-day Japan itinerary shows exactly how IC card costs fit into a full Tokyo–Kyoto–Osaka budget under $1,500.
Frequently Asked Questions
What is the best IC card for tourists in Japan in 2026?
For most tourists, the best IC card is whichever is easiest to get at the airport where you land. Arriving in Tokyo: Welcome Suica (no deposit, available at Narita and Haneda). Arriving in Osaka: ICOCA (¥2,000 including ¥500 deposit, available at Kansai Airport). iPhone users can set up Mobile Suica via Apple Wallet before arriving in Japan.
Can I use a Suica card in Osaka and Kyoto?
Yes. All 10 major IC cards in Japan — including Suica, ICOCA, and PASMO — are interoperable across the national network. A Welcome Suica bought in Tokyo works on Osaka subway lines, Kyoto city buses, and everywhere else in the country.
Can I use my IC card at Japanese convenience stores?
Yes. All major Japanese convenience stores — 7-Eleven, FamilyMart, and Lawson — accept IC cards at the register. Tap the card or your iPhone on the reader instead of using cash. It also works at vending machines, coin lockers, and many restaurants.
What is Welcome Suica?
Welcome Suica is a tourist-specific version of the regular Suica IC card. It costs only what you load onto it (no ¥500 refundable deposit), but expires after 28 days and cannot be refunded — any remaining balance is forfeited. Available at Narita Airport, Haneda Airport, and major JR East stations.
Can Android phones use Mobile Suica in Japan?
Only if your Android phone was purchased in Japan and has a FeliCa NFC chip. Most Android phones bought outside Japan do not support Mobile Suica, PASMO, or ICOCA apps. Android users visiting Japan should use a physical IC card purchased at the airport.
How much should I load onto my IC card?
Load ¥3,000–5,000 when you first arrive. This covers 3–5 days of local transport in most cities. Top up at any station machine when your balance drops below ¥500 — the gate will give a different beep tone as a warning.
What happens to leftover IC card balance when I leave Japan?
For tourist cards (Welcome Suica, Tourist PASMO): no refund is possible — spend the balance at airport convenience stores before departing. For regular Suica with a deposit: return the card at a JR East counter to get your ¥500 deposit back (minus a ¥220 handling fee). For ICOCA: return at a JR West counter.
Planning what to bring? See our Japan budget packing list — including exactly what to buy at konbini instead of packing.
Information correct as of May 2026. IC card availability and pricing may change — verify at your point of purchase.